Recently, I got addicted to Kaggle and I started playing with all kinds of competitions. My first one it was the default (way to go) on Deep Learning. None other than the classifying handwritten digits using the MNIST dataset. I managed to hit a good 99.1% accuracy in the validation round! I figured to share my first experience with Kaggle and how I approached the problem.

The code of this post is in my repository on GitHub.
I will cover the following:
- Download and preprocess the dataset
- Building a Convolutional Neural Network with Keras
- Training the model
- Using the model with the best validation accuracy to predict
For this implementation, I am going to use Keras for creating the convolutional network. You can use whatever you want, I will post the summary of the model so you can see the architecture.
Download and Preprocess the Dataset
First of all, to start off I am going to explain how Kaggle works with the competitions. You select the competition and you enroll. In the overview tab, you get an explanation of the problem and the target, sometimes they give a small explanation of the data too. We are going to move on the Data tab, where the dataset exists. Download everything.
Now we are going to follow these steps:
- Open the file and load the data
- Format the data and get the labels
- Check for NaN values
- Split the dataset to train and validation
- Normalize the data
To open the data I have created the following function.
With this function, you open the train.csv and you get the labels and the formatted features. By formatting the features I mean we have to bring the vector (1×784) to a matrix 28x28x1. That means we have an image 28×28 with only one index for color (grey scale). If we had a colored image the shape would have been 28x28x3 (where 3 are the RGB values).
Now we move on to data validation. We have to see if we have any missing values.
This is a very simple script, using pandas. If there is a feature where there is a NaN value it will break and output the number of the feature. You can create a complete function where it drops the feature or fills the value with something. Let me know in the comments or on my twitter @siaterliskonsta with what you came up to.
Next, we have to split the dataset into train and validation sets. The process is the following. First, we have to select which portion of the data is going to be used for validation. In our case, we are going to use the 2.5% of the data, because our data pool is limited. Next, we have to make sure the distribution of samples on each set is uniform, that means, the labels are uniformly distributed in both sets. There is a function from scikit-learn named train_test_split which covers all the above topics. Bellow is the function I used for this step.
In this function, I also perform one-hot encoding on the labels. We have already talked about this in previous posts so I will not go in details.
Finally, we have to normalize the data. Neural network DO NOT work well with large numbers on input. We are simply going to bring them to [0, 1] with MinMax normalization. Bellow is the lines of code that does that. I would love to hear from you different methods of normalizing!
I know! I just divide them with 255 which is the maximum value of the grayscale! We will dive into proper normalizing methods in a future post, dedicated to Preprocessing numeric data.
Now we have our data ready for the model but, we do not have a model yet! So, let’s build it!
Building a Convolutional Neural Network with Keras
For this kind of task, we are going to use a Convolutional Neural Network. We are dealing with images and a very popular method for classifying images is the CNN (Convolutional Neural Network). The whole point of this is to convolve the image before the classification. With the convolution of the image, we extract unique features. In a nutshell, with the convolution, we create filters for the image that finds edges and shapes.
The following code creates the CNN model for our case.
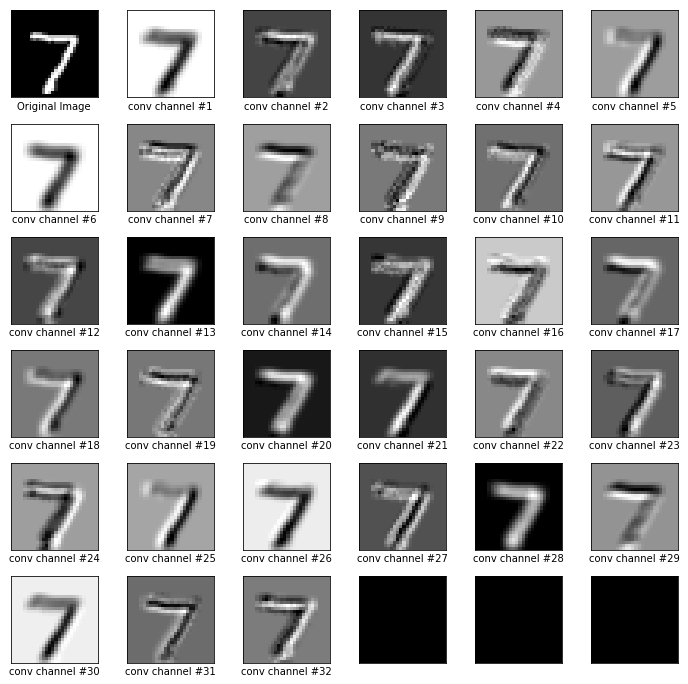
The following code creates the CNN model for our case.
And this is the summary of the model.
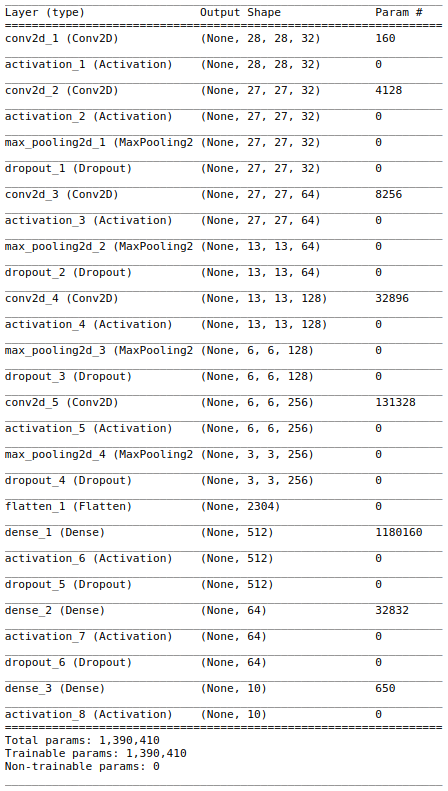
Now that we have our model ready we have to train it with our data.
Training the model
I recommend training the model for 100 epochs. I use checkpoints to keep the best trained model in case of overfitting. For the purpose of this tutorial, I did not augment the images and I will not go into details about the image augmentation. Image augmentation is a technique where you generate variations of an image (flipped, rotated, shifted, etc) This is a big notion and I will dedicate a post about this in the future. For now, you can take a look here.
Let’s dive into the code. We follow these steps:
- We augment the data using a built-in function from Keras package (ImageDataGenerator), we rotate, shift and flipping the images in random directions
- Then we set the optimizer to be RMSProp and we compile the model. Here we add an initial learning rate of 0.0001
- We set Tensorboard to monitor the progress
- We set Checkpoints to save the best models according to validation accuracy
- We set Learning rate Reduction to lower the learning rate as we go through epochs
- We train the model with the augmented images
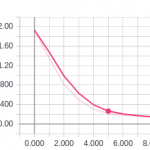
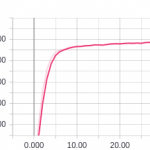
Here is some progress from Tensorboard:
Now that we have trained our model, we are going to make predictions with it and submit it to Kaggle.
Using the model with the best validation accuracy to predict
To load the best model, we go through our log from the training process and we select the one with the best possible accuracy. Then we run the following to load the weights.
model.load_weights('model-035.h5')
With the code we wrote in the Checkpoint, that means in epoch 35 we got the best possible accuracy.
Now, we want to load the data from the test file. Bellow is the function that I created to do that.
And now that we have the test data we predict and we save the predictions to `submission.csv`.
That’s it for today! Any questions you have you can find me on Twitter @siaterliskonsta, I would love to hear them and I will do my best to answer them! You can also tell me about your experience with Kaggle and this CNN, and what changes you did to hyperparameters to make it better! Till next time, take care and bye bye!




Pingback: A Simsons Chatbot (Keras and SageMaker) – Part 1: Introduction – Talk about Technologies